 By Bianka
A quick tutorial for creating carousels for your social media posts or ads in Figma. With a ready-to-use template for Instagram.
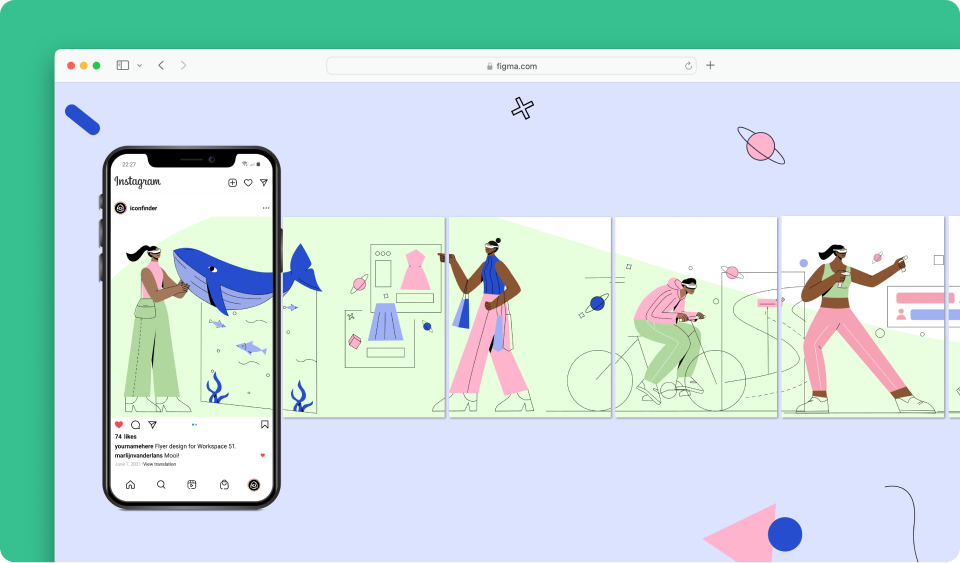
Isn’t it lovely when you’re swiping through a carousel, and the images look like one large image split into multiple ones? It’s nice on the eyes and gives out a more professional vibe. You can create carousels like that, too.
Here is a ready-to-use template as Figma community file that creates seamlessly connected carousel images from any design or image you drop into it.
If you want to create a template like this yourself, here are the steps:
1. Set up your base image
When you look at the seamless carousel, it basically looks like one “long” image connected. The approach to creating the final images is to make this “long image” first. For the purpose of this article, let’s call it the base image.
A little bit of math
Depending on how many images you want your final carousel to be, you need to count how large should be your base image.
An ideal Instagram post is 1090x1350 px (If you’re sticking to the old-fashioned square format, it’s 1090x1090 px.)
You have to count the base dimensions based on the width. If you want 10 images (the maximum on Instagram), then it is 1090x10, so 10,900. The height remains the same, so the final dimensions are 10900x1350.
Tip: Make the base image wider. You never know if your final design changes during the process, and you’ll need to add one or two images to the carousel. It’s always good to have some room for that!
Create a rectangle using the correct dimensions.
.png")
2. Create a component
Once you have the rectangle base set up, make it a component. You can do that by clicking the component icon at the top. Or use a key shortcut ⌥ + ⌘ + K.
.png")
3. Create a setup for the final images
Create a rectangle in dimensions 1390x1350 (or 1090x1090 if you’re working with the square)
.png")
Make copies of it. You will need as many copies as you need final images. Align them horizontally, and place them directly next to each other without any space in between.
.png")
Use Figma tools to make sure they are aligned and that there are 0 pixels between them.
.png")
Send the rectangles to the back of the canvas by using a right click and choosing to Send to back and align them below the base image component.
.png")
.png")
4. Use component instances and masks to create the final images
Make a copy of the base image component (called a component instance) and drag it over the rectangles - make sure it’s aligned. (I added color and a shape to mine to better showcase the steps.)

Mark up the component with the first rectangle hidden under it with your mouse. Create a mask; There is an icon for it at the top, or you can right-click and find the Use as a mask option.

And bam! Your first image is ready. Now you just have to repeat duplicating the base image and create masks with each of the rectangles. If you’re aiming to have 10 final images, you have to create 10 component duplicates and use each of the rectangles as a mask. Make sure the elements are aligned so your carousel is connected seamlessly.

You should end up with the base image at the top and 10 masks below it.
.png")
Tip: Add text or some graphical elements to the base image - it makes it easier to ensure that the masks are aligned and that the final images will be connected seamlessly.
5. Create your carousel
Now, all that is left is to start working on your design. Anything you drop in the Base image frame will be replicated in the final images.
.gif")
Tip: Add space between the final images to see how they will look separately when posted.
.png")
Once your carousel is finished, you can export the masks as PNGs and have images ready to be posted.
Ask away in the comments if any of the steps are unclear. We’ll make sure to get it right.
Happy seamless posting!